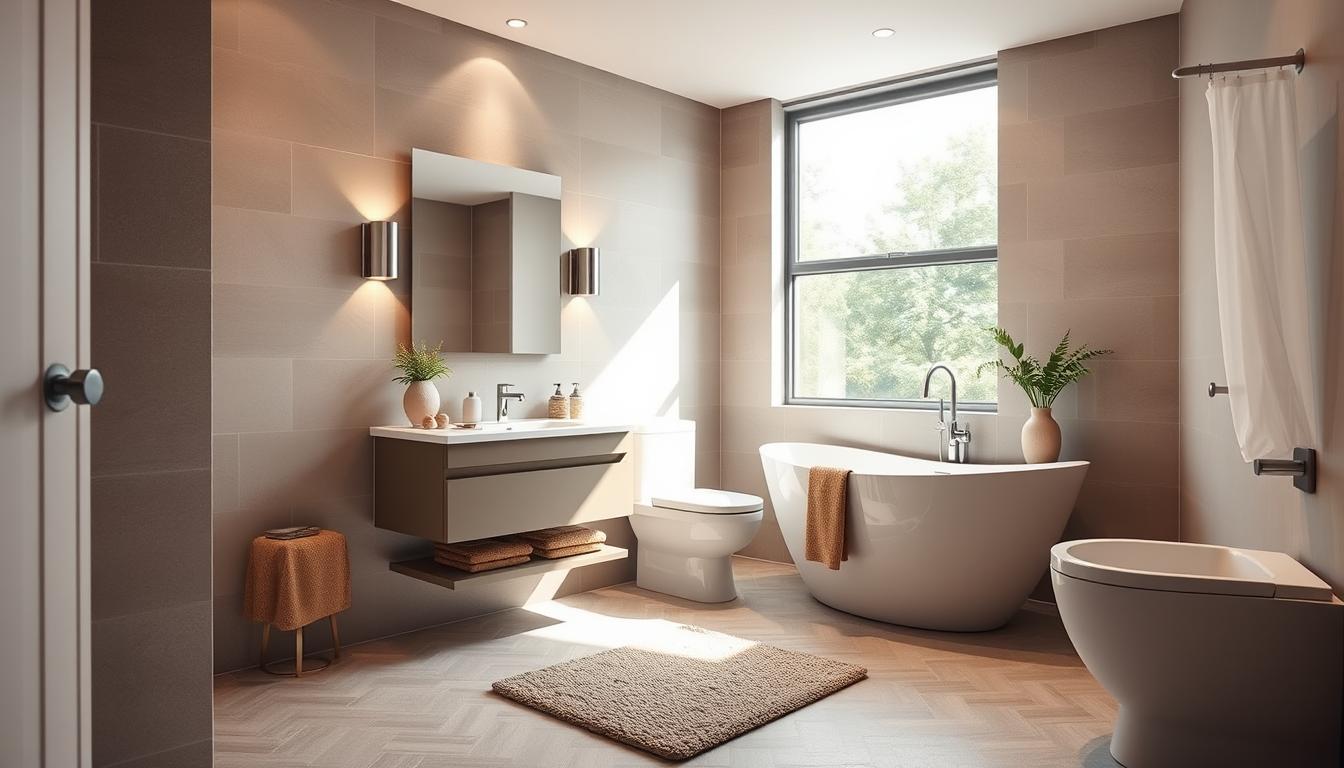
What if you could completely transform the most challenging room in your home without draining your savings? Many people believe a beautiful, functional space requires a massive investment, but we’re here to challenge that idea.
We understand that starting a home improvement project can feel overwhelming. Limited square footage and budget constraints often make a renovation seem impossible. Our guide proves that stunning results are achievable for everyone.
This comprehensive resource walks you through maximizing every inch of your area. We focus on smart design and clever ideas that create a big impact. Whether you have a compact powder room or a narrow layout, we have proven strategies.
You will discover real-world examples of successful transformations. These projects range from simple, budget-friendly updates to more comprehensive renovations. Our friendly approach combines practical advice with inspiring style concepts to help you create a room you’ll love.
Content
- 1 Introduction to Your Small Bathroom Remodel Journey
- 2 Planning and Designing Your Remodel
- 3 Evaluating Your Current Space and Needs
- 4 Clever Layout Solutions for Compact Spaces
- 5 Creative Design Ideas to Transform Your Bathroom
- 6 Leveraging Mirrors to Enhance Space and Light
- 7 Bold Color Choices and Accent Walls
- 8 Innovative Storage Ideas and Decluttering Tips
- 9 Lighting Strategies to Make Your Bathroom Brighter
- 10 Incorporating Smart Fixtures and Up-to-Date Plumbing
- 11 DIY Versus Professional Assistance
- 12 Practical Cost Breakdown and Budget Management
- 13 Expert Tips for a Successful Small Bathroom Remodel
- 14 Integrating Local Contact and Office Information
- 15 Innovative Trends and Future Inspirations
- 16 Conclusion
- 17 FAQ
- 17.1 What is the best way to make a compact bathroom feel larger?
- 17.2 Can I really install a vanity in a tiny space?
- 17.3 How can I add more storage without making the room feel cramped?
- 17.4 Is it worth upgrading my plumbing fixtures during a refresh?
- 17.5 What type of flooring works best for a limited square footage area?
- 17.6 Should I attempt a do-it-yourself project or hire a professional?
Key Takeaways
- Beautiful bathroom transformations are possible on any budget, from under $1,000 to around $5,000.
- Smart design choices can maximize functionality and style even in the most compact spaces.
- DIY approaches can save significant money while still achieving professional-looking results.
- Common challenges like poor lighting and inadequate storage have creative, affordable solutions.
- The goal is to create a space that reflects your personal style and works for your modern life.
- Planning and creative thinking are more important than having a massive budget for a successful project.
Introduction to Your Small Bathroom Remodel Journey
Every great transformation begins with a clear vision of what’s possible within your existing space. We help homeowners see beyond current limitations to recognize the tremendous potential waiting to be unlocked.
Understanding the Scope and Potential
We start by assessing what truly needs attention in your room. Common issues include outdated walls, poor lighting, or fixtures that no longer function properly.
Spending time noting your frustrations helps guide priorities. This thoughtful approach ensures your budget goes where it matters most for your daily life.
The potential in every compact area is remarkable. Strategic choices in layout and storage can completely transform how the space feels and functions for your family.
Setting a Realistic Budget
Being honest about what you can spend prevents stress throughout your project. We always recommend including a contingency fund for unexpected surprises.
Different approaches yield different results. Here’s how budget ranges typically break down for various project scopes:
| Project Type | Budget Range | Included Elements |
|---|---|---|
| Cosmetic Updates | $1,000-$1,500 | Paint, fixtures, accessories |
| Mid-Range Improvements | $2,000-$3,000 | New flooring, vanity, lighting |
| Comprehensive Renovation | $4,000-$5,000 | Plumbing, tiling, all fixtures |
Professional renovations often cost tens of thousands, making DIY approaches highly cost-effective. Your investment should reflect both your needs and what brings you joy in your home.
Planning and Designing Your Remodel
Before any tools are picked up, the most successful transformations begin on paper and in imagination. This creative phase sets the foundation for everything that follows in your home improvement journey.
We encourage studying real projects with constraints similar to yours. Homeowners who embrace unique features often create the most memorable designs. One remarkable project preserved an original pink cast-iron tub, designing around it with complementary beige grout.
This approach saved thousands on replacement costs while creating a distinctive look. Such clever ideas demonstrate how working with existing elements can yield stunning results.
Gathering Inspiration from Successful Projects
The most effective designs often combine strategic splurges with smart savings. We’ve observed consistent patterns in what works well for various room sizes and styles.
| Design Element | Budget-Friendly Approach | Impact Level |
|---|---|---|
| Wall Treatment | Paint or limewash instead of tile | High visual impact |
| Vanity Solution | Repurposed furniture or IKEA hack | Functional and unique |
| Tile Strategy | Subway tile with colored grout | Classic with modern twist |
| Fixture Update | Preserve vintage pieces | Character and savings |
Creating a mood board helps visualize how elements work together. Collect paint samples, tile swatches, and fixture finishes that speak to your personal style.
The beauty of proper planning is that it prevents costly mistakes and helps maximize both budget and potential.
Identify your non-negotiables early—whether that’s specific storage or particular fixtures. This ensures your final design accommodates what matters most for your daily life.
Evaluating Your Current Space and Needs
Before making any changes, we recommend conducting a detailed evaluation of your current bathroom’s strengths and weaknesses. This honest assessment helps identify what truly needs improvement versus what elements might work well with minor updates.
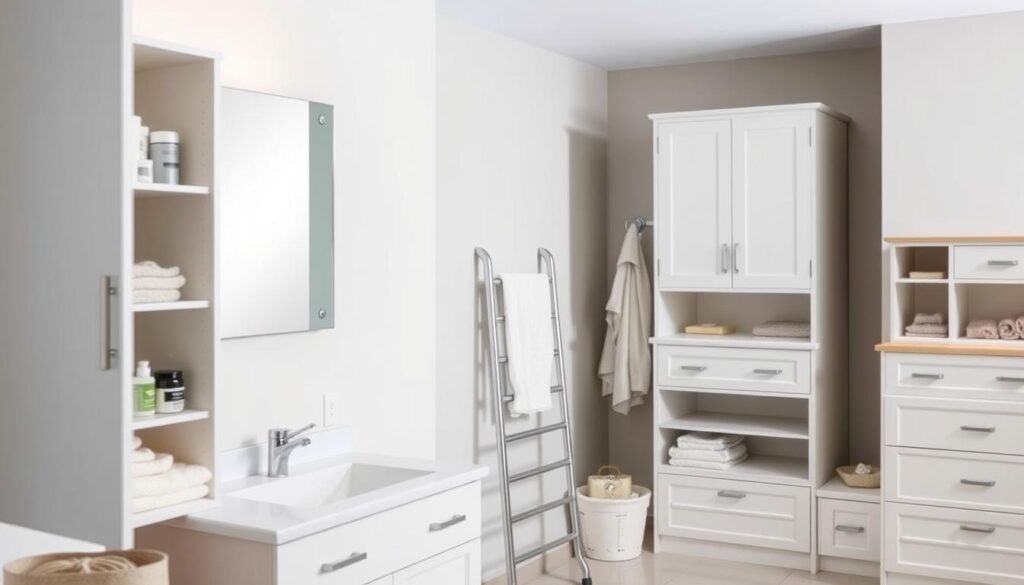
We approach this process methodically, measuring every dimension and noting problem areas. Understanding traffic flow and existing storage capacity provides crucial insights for planning.
Identifying Storage Opportunities
Clutter quickly makes any compact area feel cramped and less functional. That’s why we pay special attention to storage solutions during our evaluation.
Take inventory of everything you need to store—daily toiletries, towels, and personal care items. This helps determine your actual storage requirements versus what you currently have.
Look beyond traditional vanity cabinets to consider vertical wall space. Many bathrooms have underutilized areas that could accommodate floating shelves or slim cabinets.
The area above the toilet often provides excellent storage potential. Recessed medicine cabinets and door-back hooks offer clever ways to maximize every inch.
Consider who uses the room and how frequently. A powder room for guests requires minimal storage, while a family bathroom needs significantly more organizational solutions.
Measuring your existing vanity and shelving helps determine if you need larger pieces or supplemental storage. This thoughtful approach ensures your final design meets your practical needs while creating a beautiful, functional space.
Clever Layout Solutions for Compact Spaces
The arrangement of fixtures often determines whether a bathroom feels cramped or comfortably spacious. We focus on smart planning that maximizes every inch while improving daily functionality.
Optimizing Floor Plans and Flow
We start by questioning traditional assumptions about what you really need. That bulky double vanity might be replaced with a sleek single unit or pedestal sink. This change instantly opens up valuable floor area.
Floating vanities create visual openness underneath, making the entire room feel larger. The visible flooring extends the sightlines, creating an illusion of more space.
Fixture scale matters tremendously in tight quarters. A standard 60-inch bathtub can often be replaced with a 48-inch deep soaking model. This simple switch preserves bathing comfort while gaining precious inches.
We ensure proper clearance around each element—at least 21 inches before toilets and sinks. Showers need about 30 inches of front space for comfortable use. These measurements prevent that claustrophobic feeling.
Swing-out shower doors consume valuable real estate. We often recommend curtains instead, which free up floor space while costing significantly less. Wall-mounted toilets and corner sinks work wonders in narrow layouts.
The way you arrange elements impacts both function and perception. Sometimes moving a toilet or sink just a few inches dramatically improves the entire flow. Consistent flooring throughout creates visual continuity that expands the area.
Creative Design Ideas to Transform Your Bathroom
The way your eye travels through a space determines whether it feels cramped or expansive. We can guide that journey with clever design choices that create optical illusions.
Visual expansion techniques work with perception rather than physical boundaries. They make compact areas feel remarkably open and inviting.
Tips for Visual Expansion
We focus on strategic elements that trick the eye into seeing more space. Large graphic patterns create expansiveness while small busy designs emphasize limitations.
Tile orientation dramatically affects how we perceive dimensions. Horizontal lines push walls apart visually. Vertical patterns draw eyes upward, making ceilings feel higher.
Clear glass shower doors remove visual barriers that chop up the room. This allows sightlines to travel uninterrupted through the entire area.
Reflective surfaces and light colors amplify natural illumination. They bounce light around, creating brightness that enhances the feeling of openness.
| Technique | Visual Effect | Implementation Tip |
|---|---|---|
| Large Patterns | Creates expansiveness | Use oversized graphic designs |
| Tile Orientation | Controls perceived dimensions | Horizontal for width, vertical for height |
| Clear Glass | Uninterrupted sightlines | Replace frosted glass or curtains |
| Light Colors | Amplifies brightness | Lighter shades in shower areas |
The actual footprint may be fixed, but how large it feels is entirely within your control. Thoughtful design decisions can transform any compact area into a space that breathes openness.
Leveraging Mirrors to Enhance Space and Light
One of the most overlooked yet powerful design elements for creating spaciousness is the humble mirror. We consider these reflective surfaces essential tools for transforming any compact area.
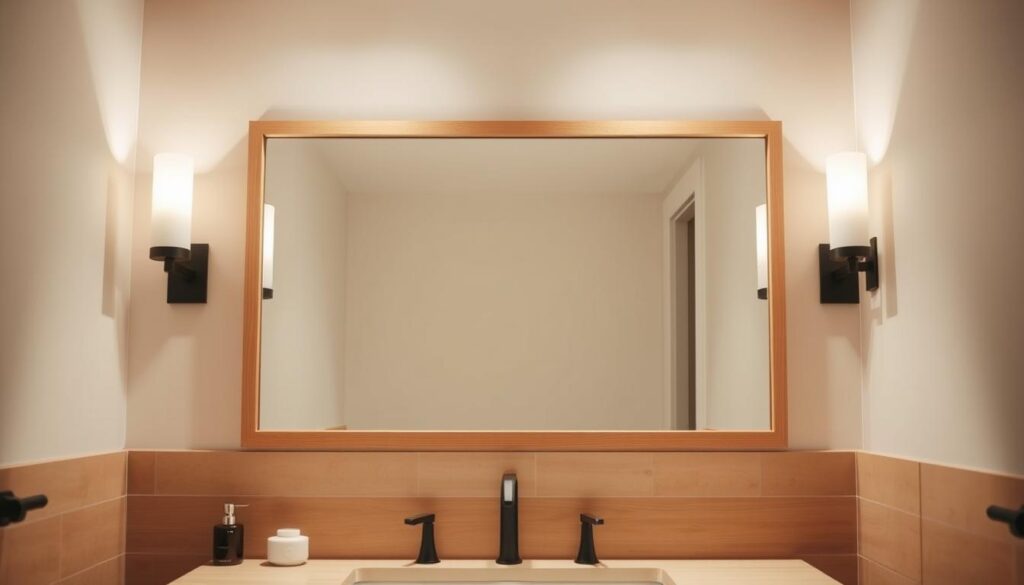
Mirrors instantly add depth and reflect illumination throughout the room. They create the illusion of significantly more area without physical changes.
Choosing the Perfect Mirror Style
When selecting mirrors, we consider both aesthetic preferences and functional needs. Oversized options work beautifully because they make walls seem to disappear.
Round frames soften the boxy look that many spaces naturally have. This creates a more open feel that’s less confined.
For vanity areas, we ensure proper proportion between the mirror and fixture. The reflective surface should typically be a few inches narrower than the vanity width.
Strategic Placement for Maximum Impact
Positioning is crucial for maximizing the benefits of any mirror. We always recommend hanging them to face windows whenever possible.
This placement captures and reflects natural light throughout the room. It effectively doubles the brightness without additional fixtures.
Placing mirrors across from one another creates an infinite space illusion. Even the tiniest powder room feels expansive with this technique.
| Mirror Type | Visual Effect | Best Placement |
|---|---|---|
| Oversized Mirror | Makes walls disappear | Above vanity or empty wall |
| Round Framed Mirror | Softens square look | Centered on feature wall |
| Medicine Cabinet Mirror | Dual functionality | Vanity area with storage |
| Window-Facing Mirror | Doubles natural light | Opposite light source |
The right mirror strategy can completely redefine your space. It’s one of the most cost-effective ways to create dramatic visual expansion.
Bold Color Choices and Accent Walls
Color transforms more than just appearances—it can fundamentally alter how we experience a space. Many people mistakenly believe vibrant hues make compact areas feel smaller, but we’ve found the opposite occurs when applied strategically.
We absolutely love bold color choices because they create intentional, designed spaces rather than apologetic ones. Your room gains personality and style through thoughtful color selection.
Selecting a Palette That Opens Up the Space
Crisp white serves as our foundational recommendation for creating light, bright environments. Semi-gloss or gloss finishes reflect illumination beautifully, enhancing the sense of openness.
Accent walls deliver dramatic impact without overwhelming the area. Imagine a vibrant blue wall balanced with white trim and simple fixtures creating a sophisticated focal point.
Neutral monochromatic schemes in beige, brown, and white create soothing, spa-like atmospheres. These palettes feel open rather than cramped, perfect for serene environments.
We recommend strategic paint application to create visual height. Painting the top third of walls white while using colorful tile below draws eyes upward, making ceilings feel higher.
For budget-conscious projects, paint and limewash offer dramatic transformations without tile expenses. Calming schemes like soft greens or navy and gray combinations make spaces feel serene and spacious.
The beauty of bold color choices lies in their ability to give compact areas distinctive character. Your space gains personality while feeling more expansive through thoughtful color application.
Innovative Storage Ideas and Decluttering Tips
We believe that creative organization is the secret weapon for making limited square footage feel abundant. When every inch counts, smart storage solutions transform how you experience your space daily.
Our approach focuses on maximizing vertical areas that often go unused. Bare walls become valuable real estate for keeping essentials organized and accessible.
Using Wall Storage and Floating Shelves
Floating shelves create accessible storage without consuming floor area. They maintain an open, airy feel that solid cabinets cannot match.
We install shelves at different heights to accommodate various items. Towels, toiletries, and decorative accents find perfect homes on these versatile surfaces.
Glass canisters and attractive baskets keep essentials organized on open shelving. This approach maintains a clean, cohesive look without appearing cluttered.
| Storage Solution | Best Use | Space Impact |
|---|---|---|
| Floating Shelves | Everyday items display | Open, airy feel |
| Medicine Cabinet | Hidden storage needs | Vertical space utilization |
| Door Hooks | Towels and robes | Out-of-sight storage |
| Toilet Cabinet | Additional organization | Uses wasted space |
We always recommend adding hooks to the back of the door. This simple solution keeps towels and robes accessible yet hidden when closed.
The key to successful storage is combining closed cabinet space with open shelving. This balance creates both functionality and visual appeal in your compact area.
Lighting Strategies to Make Your Bathroom Brighter
Many homeowners underestimate how strategic lighting placement can completely redefine their room’s atmosphere and perceived size. We focus on illumination that enhances both functionality and visual appeal throughout the day.
Proper lighting transforms how spacious and inviting your area feels. Single overhead fixtures often create harsh shadows that emphasize limitations rather than possibilities.
Layering Lights for Depth and Ambiance
We create multiple lighting sources at different levels for balanced illumination. This approach eliminates dark corners and makes the entire space feel more open.
Start with ambient lighting from ceiling fixtures for general brightness. Then add task lighting around the vanity for grooming activities. Finally, incorporate accent lighting to highlight features.
Strategic placement near windows and mirrors doubles natural light impact. Reflected illumination bounces throughout the room, creating brightness even in naturally dark areas.
| Lighting Type | Primary Function | Best Placement |
|---|---|---|
| Ambient Lighting | General illumination | Ceiling or central location |
| Task Lighting | Specific activities | Vanity and mirror areas |
| Accent Lighting | Highlight features | Architectural elements |
| Unexpected Lighting | Create depth | Floor strips, inside cabinets |
Lighted vanity mirrors serve dual purposes by providing essential task lighting while eliminating shadows. Fixtures with reflective finishes or crystal accents contribute to overall brightness.
The beauty of layered lighting lies in its adaptability. You can adjust ambiance from bright and energizing mornings to soft, relaxing evenings. This versatility makes your space feel intentionally designed for all occasions.
Incorporating Smart Fixtures and Up-to-Date Plumbing
Updating your plumbing and fixtures represents one of the smartest investments you can make in your home’s functionality and value. We focus on selections that improve daily use while remaining budget-conscious.
Modern options offer remarkable efficiency without sacrificing style. WaterSense-certified toilets use only 1.28 gallons per flush compared to older models that consumed 5-7 gallons.
Budget-friendly Fixture Options
We’ve discovered beautiful 48-inch deep soaking tubs that fit compact spaces perfectly. These deliver luxurious bathing experiences while saving valuable floor area.
Affordable shower systems provide high-end looks at fraction of the cost. Wall-mounted shower heads with multiple nozzles create spa-like atmospheres.
For sink solutions, we love creative approaches. Vessel sinks paired with repurposed furniture offer unique character. Pedestal sinks provide classic appeal with minimal footprints.
IKEA vanities can be customized with unique hardware and decorative legs. This transforms budget-friendly pieces into custom-looking investments.
The key is balancing aesthetics with reliable function. Choose pieces that work efficiently within your home’s plumbing system for years of enjoyment.
DIY Versus Professional Assistance
The DIY versus professional debate represents one of the most critical crossroads in any renovation journey. We understand this decision weighs heavily on homeowners planning their space transformation.
Honest self-assessment helps determine the right path for your specific situation. Your skills, available time, and comfort level with various tasks all play important roles.
Weighing the Pros and Cons of Each Approach
DIY projects can save tens of thousands compared to professional renovations. The difference between a $3,500 hands-on project and a $20,000+ professional job is significant for most budgets.
We’ve found certain skills like basic plumbing and tile installation are learnable for motivated DIYers. However, we always recommend hiring experts for complex electrical work or major plumbing changes.
| Approach | Key Advantages | Potential Challenges |
|---|---|---|
| DIY | Major cost savings, personal satisfaction | Longer timeline, physical demands |
| Professional | Expertise, efficiency, warranties | Higher costs, less personal control |
| Hybrid | Balanced budget, quality where needed | Project management responsibility |
Hybrid approaches often work beautifully. Homeowners handle demolition and painting while hiring specialists for technical work. This balances budget concerns with quality results.
The right choice depends on your unique circumstances. Consider which tasks you can accomplish well and which require professional expertise for your home improvement success.
Practical Cost Breakdown and Budget Management
We’ve discovered that meticulous budget tracking prevents the most common renovation frustrations homeowners face. Understanding where every dollar goes ensures your transformation stays on track from start to finish.
Insights from Budget-Friendly Remodels
Real project data reveals fascinating spending patterns. A recent $3,500-$4,000 transformation shows how costs distribute across categories.
| Category | Cost Range | Key Components |
|---|---|---|
| Structural Work | $500-$600 | Studs, insulation, cement board |
| Main Fixtures | $900-$1,000 | Tub, toilet, shower hardware |
| Tile & Flooring | $400-$500 | Tile, mortar, grout installation |
| Vanity & Storage | $300-$400 | Wood, sink, faucet, hardware |
Tracking Expenses and Avoiding Surprises
We recommend maintaining detailed spreadsheets and saving every receipt. Weekly budget reviews catch overspending before it becomes problematic.
Building a 20-30% contingency fund is absolutely essential. Unexpected issues inevitably arise during any home improvement work.
Smart shopping strategies make a significant difference. Local lumber yards often offer trim at half big-box store prices. Mix splurges on statement pieces with savings on basic items.
Expert Tips for a Successful Small Bathroom Remodel
Over years of hands-on experience, we’ve gathered clever techniques that transform challenging projects into manageable successes. These strategies help homeowners achieve professional results while balancing busy schedules.
We understand that most people tackle improvements while maintaining jobs and family life. That’s why efficiency matters just as much as beautiful outcomes in any home improvement journey.
Time-saving DIY Techniques
Pre-mixed grout costs slightly more but saves enormous time. This allows you to work in shorter evening sessions rather than waiting for full weekends.
Mesh-back tile sheets install multiple pieces simultaneously. This simple switch can cut tiling time in half compared to individual placement.
We love finding ways to avoid unnecessary work entirely. Painting existing surfaces or using peel-and-stick options saves tremendous effort.
Strategic planning prevents wasted time. Have all materials on-site before starting demolition. Follow logical order: plumbing/electrical first, then walls, finally fixtures.
Hanging shower curtains near the ceiling creates instant visual impact. This five-minute change makes the entire room feel taller and more intentional.
Tackle finish work during fringe hours with 30-60 minute slots. Painting trim or installing hardware fits perfectly into these shorter time periods.
Integrating Local Contact and Office Information
Sometimes the most valuable step in any renovation project is connecting with experts who understand both creative design and practical construction. We’re here to provide that professional guidance when you need specialized services for your home improvement journey.
Our team brings years of experience helping homeowners achieve beautiful, functional results. We combine aesthetic vision with technical expertise to ensure your project exceeds expectations.
Our main location serves as the hub for consultations and design discussions. Here you can view material samples, discuss your vision, and work directly with our design specialists.
The Clinton office features showroom displays that demonstrate various design approaches. You’ll see finished projects and get hands-on experience with different material options.
Our Mechanicsville branch ensures convenient access for homeowners throughout the region. This location offers the same professional services and expertise as our main office.
Both facilities are equipped to handle everything from initial consultations to detailed project planning. We welcome visits to discuss your specific needs and challenges.
| Contact Method | Best For | Response Time |
|---|---|---|
| Phone: +1-240-763-9792 | Immediate questions and scheduling | Same business day |
| Email: info@europeangranitedesign.com | Detailed project descriptions and photos | Within 24 hours |
| Office Visits | Material selection and design consultations | By appointment |
Whether you need complete renovation services or professional advice for your DIY approach, we’re ready to assist. Our commitment is to deliver quality workmanship that respects your budget while creating spaces you’ll love.
Innovative Trends and Future Inspirations
The world of interior design never stands still, and we’re thrilled to see what’s emerging for compact spaces. Fresh ideas constantly appear that can make your area feel current and uniquely personal.
We love exploring these innovative directions because they offer exciting possibilities. Your project can benefit from looking ahead to what’s coming next in home improvement.
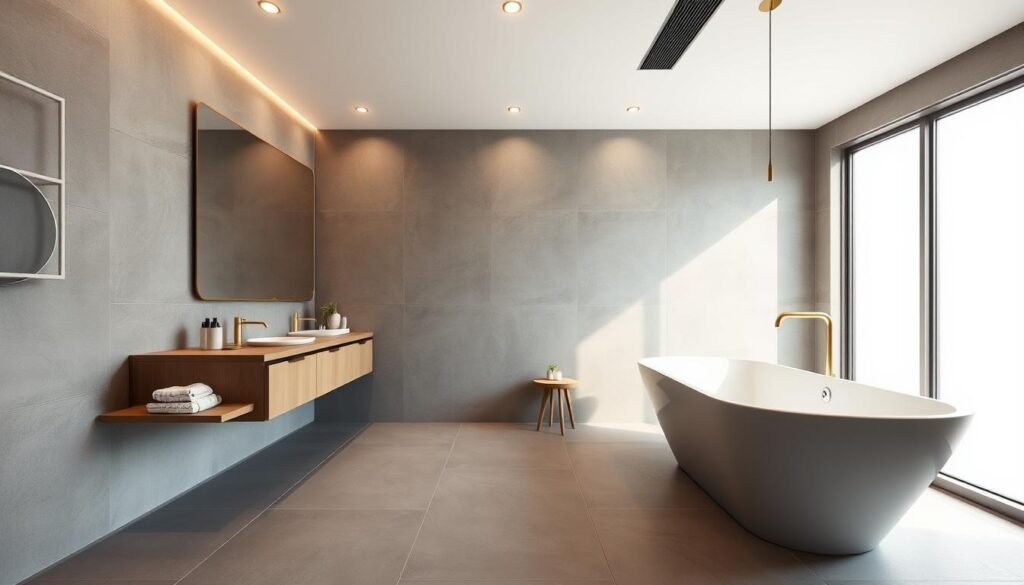
Exploring Emerging Design Ideas
Bold choices are gaining popularity among homeowners. Dramatic patterned cement tiles create striking visual impact in any room.
Matte black fixtures paired with white surfaces offer sophisticated contrast. Statement wallpapers transform powder rooms into jewel-box spaces with personality.
We notice increasing interest in mixing vintage and contemporary aesthetics. Antique furniture repurposed as vanities creates eclectic looks with character.
| Trend Category | Key Features | Best Application |
|---|---|---|
| Bold Patterns | Geometric designs, oversized motifs | Accent walls, floor treatments |
| Spa Elements | Pebble tile, calming colors | Shower areas, overall ambiance |
| Sustainable Options | Water-efficient fixtures, reclaimed materials | Fixtures, decorative elements |
| Personal Touches | DIY art, custom accessories | Wall decor, functional items |
Drawing Inspiration from Top Remodels
Successful projects show homeowners embracing spa-like elements for relaxation. Textured limewash finishes and pebble tile accents create serene environments.
Personalization through DIY art and accessories allows spaces to reflect individual style. Custom subway signs and monogrammed items add unique character.
Open wet room concepts make areas feel more spacious when properly executed. These designs work beautifully for creating contemporary looks.
The future of design is bright and endlessly inspiring. Whether you prefer bold patterns or serene aesthetics, there’s never been a better time to create something special.
Conclusion
Your journey toward a more beautiful and functional home begins with a single step. We hope this guide has shown how creative solutions work for every budget.
Strategic design choices can transform even the most compact area. From lighting to layout, these approaches create inviting spaces that serve your needs perfectly.
Remember that planning matters more than unlimited funds. Set realistic budgets and prioritize what brings you joy in your daily life.
Embrace your room’s unique characteristics rather than fighting against them. Whether you DIY or hire professionals, success comes from thoughtful preparation.
You now have the inspiration and practical knowledge to begin. We can’t wait to see what you create in your own home.
FAQ
Can I really install a vanity in a tiny space?
A> Absolutely! A pedestal sink or a narrow, wall-mounted vanity are excellent choices for saving precious floor space. These options provide necessary function without overwhelming the room.
How can I add more storage without making the room feel cramped?
We love using vertical space. Think about adding floating shelves above the toilet or recessed medicine cabinets into the wall. These solutions keep your essentials organized and your floor plan clear.
Is it worth upgrading my plumbing fixtures during a refresh?
Yes, updating fixtures like the showerhead and faucet can modernize the entire look. It's a relatively simple project that offers a great return, improving both style and water efficiency.
What type of flooring works best for a limited square footage area?
Large-format tiles with minimal grout lines create a seamless look that makes the floor appear bigger. Luxury vinyl plank is another fantastic, durable option that can mimic wood or stone beautifully.
Should I attempt a do-it-yourself project or hire a professional?
It depends on the scope of your work. Painting and installing a new shower curtain are great DIY tasks. For complex jobs involving tile, electrical, or plumbing, we recommend hiring a pro to ensure safety and quality.

