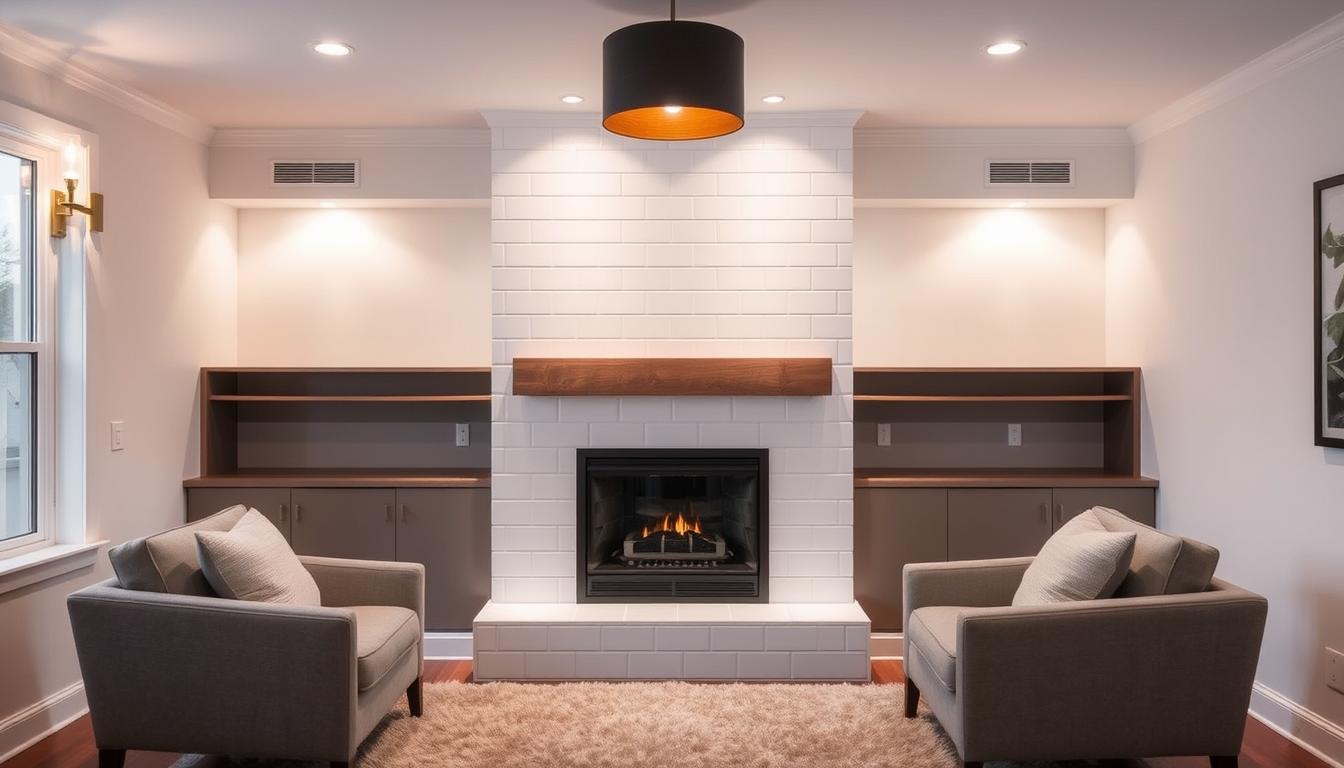
Did you know that a well-designed focal point can increase perceived home value by up to 20%? It’s true. This single feature often becomes the heart of a room, drawing everyone’s attention.
Many of us have a centerpiece in our living space that feels a bit outdated. Perhaps it has old tile or a lackluster surround. But this feature holds so much potential. It provides comforting warmth in winter and serves as a beautiful display area all year.
Even the smallest changes can create a stunning transformation. You don’t need a massive project to achieve a dramatic effect. We will show you how simple updates can turn an overlooked spot into your home’s main attraction.
This guide covers a range of projects. We explore everything from budget-friendly paint updates to complete tile makeovers. Whether you want simple cosmetic changes or a more involved project, we have ideas for every level.
The right design does more than just look good. It creates a cozy gathering space for family and friends. It enhances your entire room’s aesthetic and functionality, making your home feel more complete.
Content
- 1 Embracing Small Fireplace Remodel Ideas
- 2 Visit Our Office for Expert Advice
- 3 Planning Your Fireplace Remodel Journey
- 4 Inspiration from Real-Life Makeovers
- 5 Our Favorite Fireplace Designs and Trends
- 6 Step-by-Step Fireplace Redesign Process
- 7 Essential Materials and Tools
- 8 Choosing the Right Tile and Stone Options
- 9 Incorporating Wood, Mantel, and Hearth Elements
- 10 fireplace remodel: Essential Homeowner Tips
- 11 Designing with Light and Color
- 12 Detailed Demo and Tile Installation Techniques
- 13 Integrating Custom Built-Ins for Functionality
- 14 Modern Finishing Touches: Shiplap and Accents
- 15 Balancing Functionality and Aesthetics
- 16 Conclusion
- 17 FAQ
- 17.1 What are some budget-friendly ways to update our hearth area?
- 17.2 Can we convert our wood-burning unit to gas during our redesign?
- 17.3 How do we choose the right material for our living room's focal point?
- 17.4 What are some key considerations for the demolition phase?
- 17.5 How can we make a small space feel larger with our design?
Key Takeaways
- A well-designed focal point can significantly boost your home’s perceived value.
- Even minor updates to this feature can dramatically transform a room’s atmosphere.
- This area serves a dual purpose: providing warmth and acting as a decorative display space.
- Projects range from simple, budget-friendly refreshes to more comprehensive transformations.
- The right design enhances both the aesthetic appeal and functionality of your living space.
- Creating an inviting gathering spot adds comfort and enjoyment for all seasons.
Embracing Small Fireplace Remodel Ideas
The beauty of focusing on your main gathering spot lies in the disproportionate impact compared to the effort required. Small-scale improvements deliver maximum visual transformation without overwhelming renovation costs or extended timelines.
Classic materials like brick, stone, wood, and tile remain timeless choices for any interior. However, your styling approach determines whether your living room feels modern and elevated or stuck in the past.
A surround refresh represents one of the smartest starting points for home enhancement. This targeted project completely transforms your space while inspiring momentum for larger design endeavors throughout your home.
The emotional benefits extend beyond aesthetics. A beautifully updated focal point becomes the heart of family gatherings, creating lasting memories in a functional yet pleasing environment.
Even modest changes—whether modern, rustic, or sophisticated stone upgrades—can achieve the transformative power you seek. These thoughtful updates turn an overlooked area into your home’s most cherished feature.
Visit Our Office for Expert Advice
Sometimes the best way to visualize your design ideas is to see materials in person. We invite Maryland homeowners to visit our showrooms for personalized guidance on their improvement projects.
Seeing samples up close helps you make confident decisions. Our expert team provides hands-on support from start to finish.
Our Clinton location serves as our primary design center. Here you’ll find our most extensive collection of material samples and design resources.
This spacious showroom allows you to explore various finishes and visualize how they’ll work in your space.
Our Mechanicsville branch offers the same quality service with convenient access for surrounding communities. Both locations maintain identical standards of expertise.
We established this second location to better serve homeowners throughout the Maryland area.
| Service Feature | Main Office | Branch Location |
|---|---|---|
| Material Samples Available | Full Collection | Comprehensive Selection |
| Design Consultation | Extended Hours | Flexible Appointments |
| Project Visualization | 3D Modeling Available | Sample Displays |
We encourage you to call +1-240-763-9792 to schedule your consultation. Email info@europeangranitedesign.com to share photos and get preliminary advice.
Our team looks forward to helping you create the stunning focal point you envision. We provide complete support throughout your entire project journey.
Planning Your Fireplace Remodel Journey
Successful home improvements begin with thoughtful organization and clear expectations. We guide homeowners through the essential planning phase of any renovation.
Budgeting and Timeline Considerations
Every project requires careful financial planning. Budgets should account for materials, labor, and unexpected costs that commonly arise.
Timelines vary significantly based on scope. A simple paint job might take a weekend. A complete tile replacement with custom built-ins could require several weeks.
Setting Realistic Project Goals
Successful remodeling often evolves during planning. Homeowners discover that once they start envisioning changes, the scope naturally expands.
A project that begins as simple tile replacement can grow to include rebuilding the hearth box. Adding decorative elements like shiplap creates a cohesive design.
| Project Scope | Estimated Timeline | Budget Range | Key Considerations |
|---|---|---|---|
| Cosmetic Update | 1-3 days | $500-$2,000 | Paint, minor repairs, mantel refresh |
| Tile/Surround Replacement | 1-2 weeks | $2,000-$5,000 | Material selection, demolition, installation |
| Complete Transformation | 3-6 weeks | $5,000-$15,000+ | Structural changes, built-ins, custom elements |
Proper planning prevents costly mistakes. It ensures your improvement proceeds smoothly from conception through completion.
Inspiration from Real-Life Makeovers
Real transformation stories often reveal the most practical design solutions. We’ve gathered inspiring examples that show how strategic updates can completely change a room’s atmosphere.
Before and After Transformations
One 1930s home featured a charming brick fireplace with unfortunate robin’s egg blue paint. A simple white paint job on the surround let the rich red brick become the focal point again.
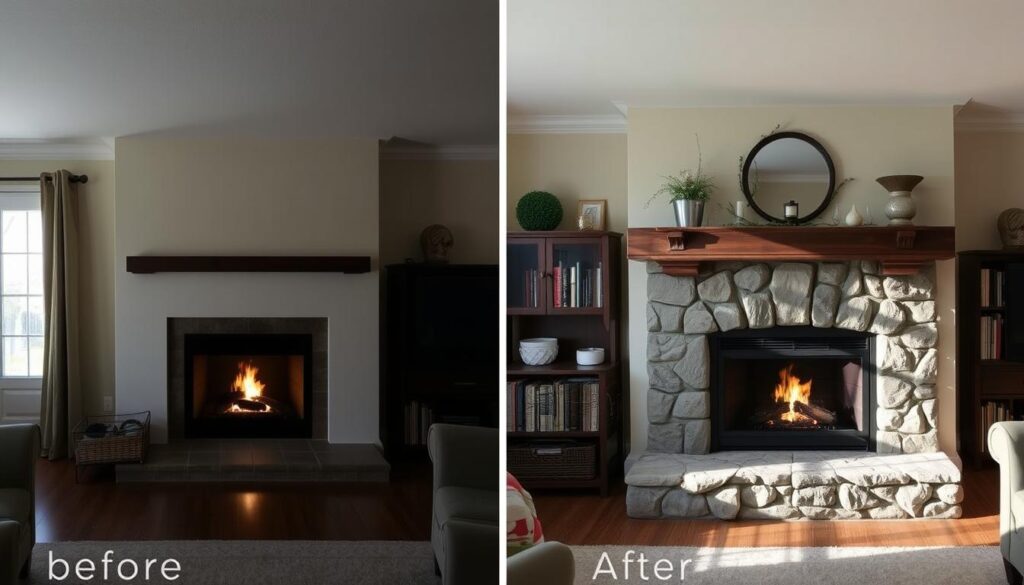
A plain corner feature struggled to command attention with dark brown marble. The solution involved sleek gray-and-white Carrara marble tiles for a modern look.
In a 1907 Craftsman home, dark wood paneling received a beautiful update. A minimalist surround with simple shelves maintained original character while refreshing the design.
A bland white feature blending into neutral walls got a contemporary brick style makeover. Black tile on the hearth and an MDF mantel created a cohesive way to enhance the room.
Even builder-grade tile walls can transform dramatically. Reclaimed barnwood planks installed vertically brought farmhouse warmth to one space.
These examples prove that effective updates don’t always require complete demolition. Strategic changes to key elements deliver impressive results for any room.
Our Favorite Fireplace Designs and Trends
Material selection plays a crucial role in determining whether your living space feels contemporary or classic. The same brick, stone, or wood can create dramatically different aesthetics based on styling choices.
We love seeing how design trends balance timeless appeal with fresh approaches. A well-executed style transforms your room’s focal point into something truly special.
Modern Versus Traditional Styles
Traditional designs often feature ornate details and classic materials. Think rich wood mantels and intricate stonework that create a cozy, established feel.
Modern approaches embrace clean lines and minimalist aesthetics. We’ve seen stunning transformations where French country elements become rustic modern statements.
Floor-to-ceiling treatments create impressive visual impact. Materials like Nero Dorato marble with wood accents emphasize room height beautifully.
| Design Style | Key Characteristics | Material Examples | Room Impact |
|---|---|---|---|
| Traditional | Ornate details, classic proportions | Brick, carved wood, natural stone | Cozy, established atmosphere |
| Modern | Clean lines, minimalist approach | Marble, sleek tile, metal inserts | Open, contemporary feeling |
| Transitional | Blends classic and contemporary | Stone veneer, painted wood, mixed materials | Balanced, timeless appeal |
Color choices significantly influence your design direction. Blue tile introduces coastal vibes while black-stained wood creates dramatic statements.
Integration with larger feature walls represents another exciting trend. Built-ins and storage solutions create cohesive design moments throughout your home.
Step-by-Step Fireplace Redesign Process
Taking on a fireplace transformation can feel daunting, but breaking it into clear stages makes the process manageable. We’ll guide you through each phase from start to finish.
Demolition and Preparation
The demolition phase is often the most exciting yet nerve-racking part of any makeover. For first-time DIYers, worrying about damaging surrounding surfaces is common.
Start by cutting caulk lines before prying columns and mantel away from the wall. Use a crowbar and rubber hammer to dig behind columns and separate them carefully.
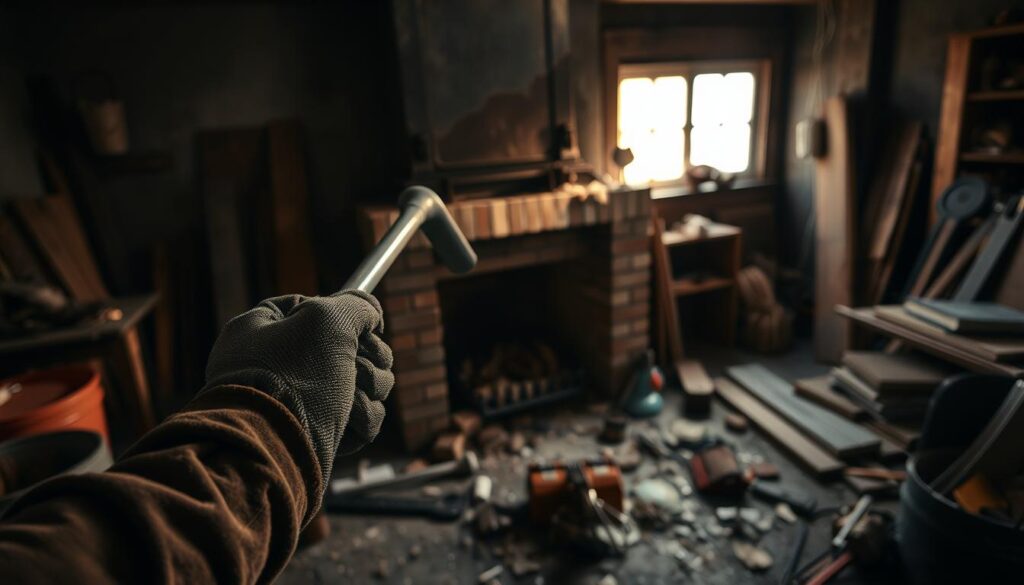
When removing tile from the surround, work methodically to separate tiles from mortar. Be extra cautious around drywall areas where tile may be mortared directly.
As one experienced renovator noted,
“Proper preparation prevents poor performance. Taking time during demolition pays dividends during installation.”
Installation and Finishing Techniques
After demolition, carefully chisel away any remaining mortar. This creates a clean, smooth surface for your new material installation.
Thorough cleanup is essential before moving forward. Discard old tiles and loose mortar pieces. Use a broom and vacuum for small fragments, then wipe everything down.
| Project Phase | Key Tools Needed | Time Estimate | Critical Steps |
|---|---|---|---|
| Demolition | Crowbar, rubber hammer | 2-4 hours | Cut caulk lines, remove tile carefully |
| Surface Prep | Chisel, vacuum, cloth | 1-2 hours | Remove mortar, clean surface |
| Installation | Tile adhesive, level | 4-8 hours | Proper alignment, secure adhesion |
Your prepared chimney area will transform into a polished focal point with proper installation techniques. Working with various materials requires attention to alignment and adhesion.
Essential Materials and Tools
The success of any DIY transformation depends heavily on proper preparation and quality materials. Having everything ready before you start prevents frustrating mid-project trips to the store.
For tile applications, we recommend Hardie Cement Board as a stable substrate. This material doesn’t expand and contract like wood, ensuring your installation stays crack-free. Thin-set mortar provides superior adhesion for various tile options.
Quality tools make all the difference. For demolition, you’ll need crowbars and rubber hammers. Precision cutting requires a jigsaw for wood trim and a 7-inch wet saw for clean tile cuts.
Finishing materials include 1x4x8 primed boards, lattice trim, and various moulding options. Cape Gray grout complements white subway herringbone marble tile beautifully while hiding minor discoloration.
While the list may seem extensive, many tools are reusable for future projects. This makes the initial investment worthwhile for homeowners who enjoy hands-on work.
Choosing the Right Tile and Stone Options
Your material selections determine whether your space feels contemporary, traditional, or transitional. The right tile or stone can completely transform your room’s atmosphere while fitting your budget and lifestyle.
We guide homeowners through the process of selecting materials based on aesthetics, budget, and maintenance needs. Each material offers unique benefits and considerations.
Pros and Cons of Material Choices
White subway herringbone marble tile creates a fresh, modern look that elevates any space. Gray-and-white Carrara marble tile seamlessly integrates with neutral color schemes.
For budget-conscious options, faux stacked limestone provides the appearance of real stone at a fraction of the cost. This lightweight material requires no additional floor support.
Traditional brick fireplace surrounds remain popular for their timeless appeal. When working with existing brick, consider whether painting or using brick veneer offers better results than restoration.
Stone veneer delivers upscale aesthetics at accessible price points. Smooth stone tile creates dramatic texture contrast against white walls.
Blue tile introduces coastal vibes, while Mediterranean-style ceramic tile refreshes dated fireboxes. Herringbone patterns require careful spacing alignment during installation.
Wood elements and mantel choices should complement your tile or stone selection. This creates cohesive designs that balance multiple materials beautifully.
Incorporating Wood, Mantel, and Hearth Elements
When it comes to creating a truly captivating focal point, the strategic use of wood elements makes all the difference. These components bring warmth and character that tile or stone alone cannot achieve.
Enhancing Your Fireplace Focal Point
Rustic wood surfaces instantly add personality to any living room. Vertically installed reclaimed barnwood planks create stunning texture on chimney walls.
The right mantel style should complement your overall design direction. A simple wood beam works beautifully with streamlined tile for modern aesthetics.
Richly stained wood mantels can resemble antique furniture against white brick veneer. Minimalistic designs echo contemporary room sensibilities perfectly.
Hearth construction requires careful planning. Proper measurements ensure proportional balance with your feature wall. Decorative elements like lattice trim add visual interest.
An MDF mantel provides a budget-friendly alternative to solid wood. When painted to match your color scheme, it frames the area crisply.
fireplace remodel: Essential Homeowner Tips
We’ve gathered essential insights to help homeowners navigate their renovation journey safely and efficiently. These practical tips ensure your project delivers beautiful results while avoiding common pitfalls.
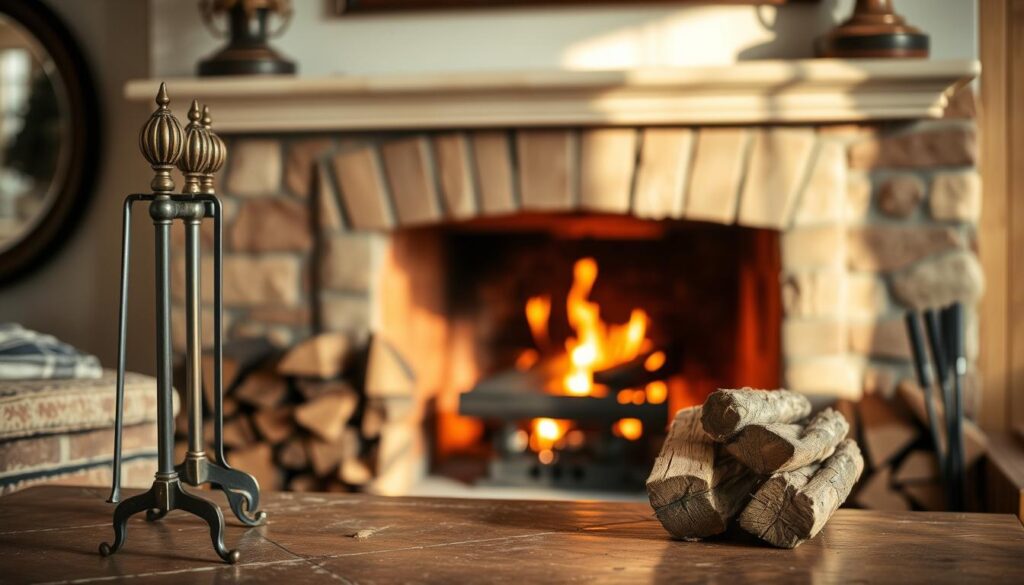
Safety and Maintenance Guidelines
Safety comes first in any home improvement project. Always use high-temperature spray paint for fireboxes and screens exposed to heat.
Proper ventilation is critical when working near gas fireplace units or inserts. Different materials require specific maintenance approaches.
Painted brick surfaces may need occasional touch-ups. Some tile choices resist soot and heat damage better than others.
Cost-Saving Strategies for Your Remodel
Smart material choices can dramatically reduce expenses. Faux stacked limestone offers the look of real stone at lower prices.
Basic IKEA shelves upgraded with molding create custom built-in appearances for a fraction of the cost. Lightweight materials require no additional floor support.
A simple paint job can transform a brick fireplace completely. White paint refreshes the space and brightens the entire room.
Strategic splurging makes sense too. Use expensive tile on nonworking hearths where smaller quantities work beautifully.
Designing with Light and Color
Strategic color choices often deliver more impact than expensive material upgrades. We’ve seen how wrong selections, like robin’s egg blue paint, can make a room appear disjointed. The right palette creates harmony throughout your living space.
Warm white paint completely brightens any area, making it feel larger and more inviting. This fresh backdrop allows other design elements to shine. Dramatic choices like black paint on a wood mantel bring immediate focus to your feature.
| Color Choice | Room Impact | Light Interaction | Best For |
|---|---|---|---|
| Warm White | Brightens, expands space | Reflects natural light | Small, dark rooms |
| Black/Dark Tones | Creates focal point | Absorbs light, adds depth | Large, well-lit spaces |
| Blue Tones | Coastal, calm feel | Cooling effect | Beach-themed designs |
| Distressed Finishes | Adds character | Softens light reflection | Rustic, vintage styles |
Color creates thematic cohesion throughout your room. Blue tile introduces coastal vibes, while painting an entire facade white reinforces beach themes. Black fireplace doors pop against wood walls, uniting the design with furnishings.
Understanding how light interacts with color helps you make informed decisions. Natural light changes throughout the day, affecting how your chosen palette looks. Thoughtful color selection revitalizes elements without requiring structural changes.
Creative applications like distressed finishes turn damaged areas into unique details. The right look depends on both color choice and application technique. This approach transforms dated features into stunning focal points.
Detailed Demo and Tile Installation Techniques
The precision you apply during the demolition and installation phases directly impacts the longevity of your design. We’ll guide you through each critical step to ensure professional results.
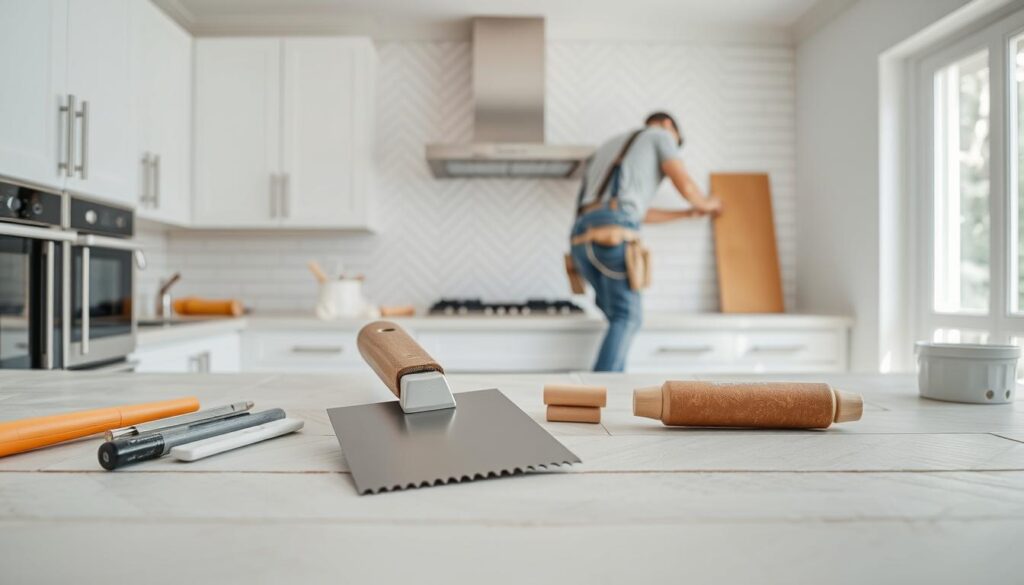
Demo Preparations and Best Practices
Start by cutting caulk lines before prying anything away from the wall. Use a crowbar and rubber hammer carefully around drywall areas. This prevents damage to surrounding surfaces.
Carefully chisel away remaining mortar to create a clean surface. Proper cleanup sets you up for success. Discard old tile pieces and use a broom and vacuum for small fragments.
Tile Laying and Grouting Tips
We recommend Hardie Cement Board as your base material. It doesn’t expand and contract like wood, preventing cracks. Score it to exact dimensions and apply with thin-set mortar.
For the chimney area, nail cement board into studs. Use a 7-inch wet saw to cut tiles precisely. Spread mortar in small sections with the ribbed edge of a trowel.
Mix Cape Gray grout according to instructions. Apply with a grout float at a 45° angle between tiles. Wipe excess at 90° and let cure properly before any pressure.
Integrating Custom Built-Ins for Functionality
What if your focal point could offer more than just visual appeal? Custom built-ins transform standalone features into comprehensive storage and display solutions. They maximize functionality while enhancing your room’s aesthetic appeal.
Simple display shelves on either side create visual balance. When the top shelf aligns with the mantel, you achieve a seamless, intentional look. This approach turns empty wall space into valuable display real estate.
New bookshelves provide perfect opportunities for collectibles and decorative items. Cabinets below offer hideaway space for personal belongings. This combination keeps your living area organized and clutter-free.
Expansive wall space around your feature becomes practical storage. Custom bookcases and cabinetry brighten the entire area. They provide both open and closed storage options, plus designated spots for electronics.
| Built-In Type | Primary Function | Budget Level | Space Impact |
|---|---|---|---|
| Display Shelves | Decor showcasing | Low | Minimal footprint |
| Bookcase Units | Storage & display | Medium | Moderate expansion |
| Custom Cabinetry | Concealed storage | High | Full wall integration |
| Bench Seating | Storage & seating | Medium-High | Multi-functional |
Budget-conscious alternatives deliver impressive results. Basic IKEA shelves bookend your feature beautifully. Adding molding creates the custom built-in appearance for a fraction of the cost.
Custom cabinetry flanking your centerpiece keeps media equipment organized and out of sight. This creates a clean, uncluttered room that maintains full functionality. Your space becomes both beautiful and practical for daily family life.
Creative integrations make your feature part of a larger wall system. Built-in benches provide blanket storage while creating cozy seating areas. Well-planned built-ins give everything its proper place, reducing clutter throughout your living space.
Modern Finishing Touches: Shiplap and Accents
Modern accents provide the perfect finishing touches that tie an entire room together. Shiplap has become an of-this-decade style choice that beautifully crowns any focal point.
This treatment adds texture and dimension that draws the eye upward. It makes rooms feel taller and more spacious while creating visual interest.
Choosing the Right Paint and Trims
For faux shiplap installation, we cut 5 ft. x 7.5 in. strips of underlayment plywood using a table saw. Nickels maintain consistent spacing between boards when nailing into studs along drywall.
Behr Ultra Pure White creates a clean, cohesive look when applied to shiplap, mantel, and trim. This high-quality white paint matched our hearth box perfectly.
Trim strategies tie the entire design together for a coherent look. We used ceiling trim at the top and moulding trim along the sides.
| Trim Type | Application Area | Visual Effect | Installation Complexity |
|---|---|---|---|
| Ceiling Trim | Top of shiplap wall | Creates finished edge | Easy |
| Moulding Trim | Side edges | Matches column trim | Moderate |
| Lattice Trim | Decorative surfaces | Adds visual interest | Easy |
| Foot Moulding | Bottom of hearth | Grounds the design | Easy |
A simple white mantel sits directly atop the surround dressed in white marble subway tile. Base moulding on columns with lattice trim down the sides completes the polished look.
The right finishing touches ensure every element works together harmoniously. This creates a cohesive design style that transforms the entire room.
Balancing Functionality and Aesthetics
Balancing how a room works with how it looks transforms ordinary spaces into extraordinary living experiences. We focus on creating designs that serve your family‘s daily needs while enhancing your home‘s visual appeal.
Space Optimization Strategies
Strategic furniture placement makes your hearth area both beautiful and practical. Positioning two chairs flanking the feature creates an intimate seating place perfect for conversations.
This arrangement turns your living room into the heart of your home where memories are made. Clean sight lines ensure the feature can be seen from adjacent areas, creating visual connections.
For added functionality, consider a recessed box behind mounted electronics. This keeps cables hidden while maintaining a clean aesthetic. Even smaller gas inserts can feel substantial with strategic mantel design.
Creating a Cozy Ambience
The right style choices transform your interior into a welcoming retreat. Fire glass shimmers inside the firebox, enhancing the flames’ natural sparkle.
For nonworking features, an indoor garden spilling from the firebox creates a stylish decorative element. Beautiful accessories displayed on the mantel add personal touches that make the space feel uniquely yours.
Conclusion
Your home deserves a gathering space that reflects your personal style while serving as a functional centerpiece. Throughout this guide, we’ve shown how thoughtful design choices can transform any living area.
Even modest updates create remarkable impact. Whether you’re planning a simple refresh or comprehensive remodel, these ideas help you achieve beautiful results. Successful projects combine practical planning with creative vision.
We invite you to visit our Clinton office at 7702 Old Alexandria Ferry Rd. or our Mechanicsville branch at 26330 Three Notch Rd. See materials firsthand and discuss your vision with our team.
Call +1-240-763-9792 or email info@europeangranitedesign.com to begin your makeover journey. We’re excited to help create the stunning focal point your family will cherish for years.
FAQ
Can we convert our wood-burning unit to gas during our redesign?
A> Absolutely! Installing a gas insert is a popular choice. It offers incredible convenience and cleaner operation. We recommend consulting with a professional to ensure proper venting and installation for safety.
How do we choose the right material for our living room's focal point?
Consider your home's overall style. For a modern feel, sleek marble or large-format tiles work beautifully. For a more traditional or rustic look, natural stone or classic brick can enhance that cozy ambience perfectly.
What are some key considerations for the demolition phase?
Safety first! Always check for a clean chimney flue and ensure the area is properly sealed off from the rest of your home to contain dust. Protecting your floors and furniture is a crucial step in the preparation process.
How can we make a small space feel larger with our design?
Using lighter colors for the surround and choosing a simple, linear mantel can create a more open feel. Extending the same material, like shiplap or tile, vertically up the wall can also draw the eye upward, making the area appear bigger.

