Tiling a floor is an excellent way to enhance both the aesthetic appeal and durability of your home. Whether you’re tackling a bathroom remodel, upgrading your shower floor, or installing ceramic floor tile in your kitchen, knowing how to properly tile a floor will ensure a long-lasting and professional finish.
This guide will walk you through the entire tile installation process, from surface preparation to grouting and sealing. By following these steps, you can create a stunning, moisture-resistant, and easy-to-maintain ceramic tile flooring that adds value to your home.
For homeowners who want a professional touch, European Granite Design offers high-quality natural stones, quartz, and custom countertops, perfect for any home renovation project.
Content
- 0.1 Why Choose Ceramic Tile Flooring?
- 0.2 Step 1: Prepare the Surface
- 0.3 Step 2: Plan the Tile Layout
- 0.4 Step 3: Apply Thin-Set Mortar
- 0.5
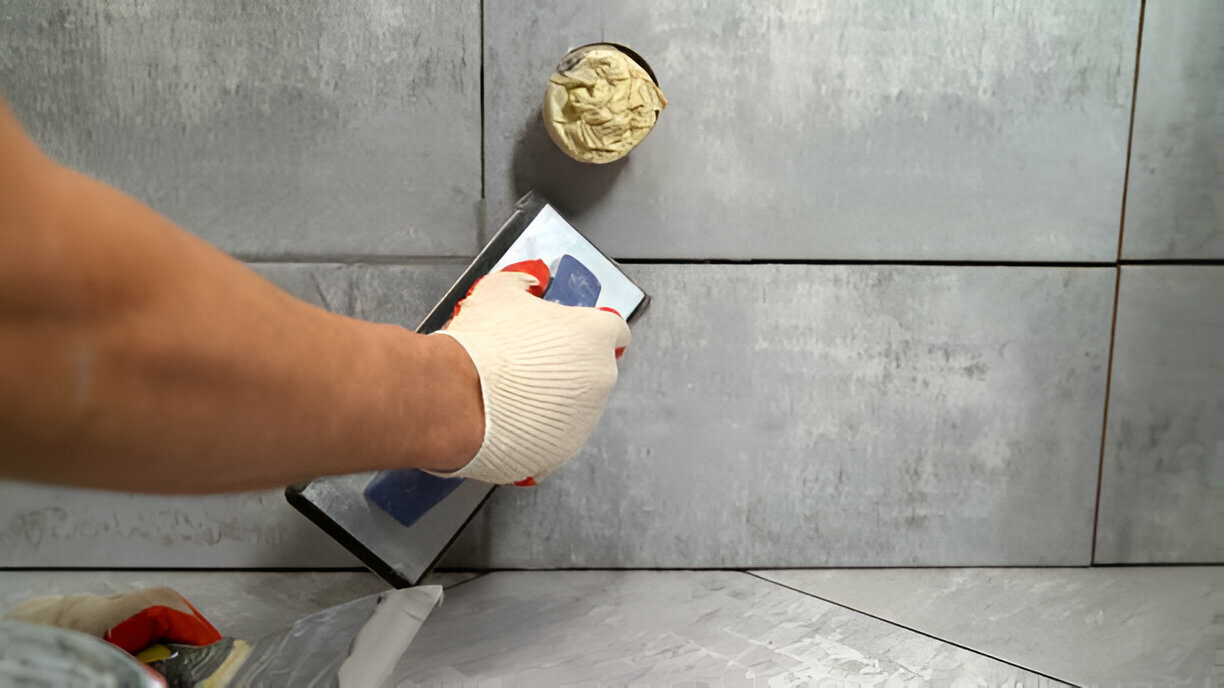
- 0.6 Step 5: Apply Grout Between Tiles
- 0.7 Step 6: Seal the Grout
- 0.8 Final Thoughts on How to Tile a Floor
- 1 Transform Your Space with High-Quality Ceramic Tile Flooring
Why Choose Ceramic Tile Flooring?

When it comes to flooring options, ceramic tiles stand out due to their versatility, durability, and timeless appeal. Used in bathrooms, kitchens, and high-traffic areas, ceramic tiles provide an excellent balance of functionality and design.
1. Durability and Longevity
Ceramic tiles are highly resistant to wear, moisture, and stains, making them ideal for wet areas like bathrooms and kitchens. With proper installation and maintenance, ceramic tile flooring can last for decades without losing its beauty.
2. Easy to Clean and Maintain
Unlike carpet or hardwood, ceramic tiles require minimal upkeep. A simple damp sponge or mop can remove dirt and stains, ensuring a fresh and polished look year-round.
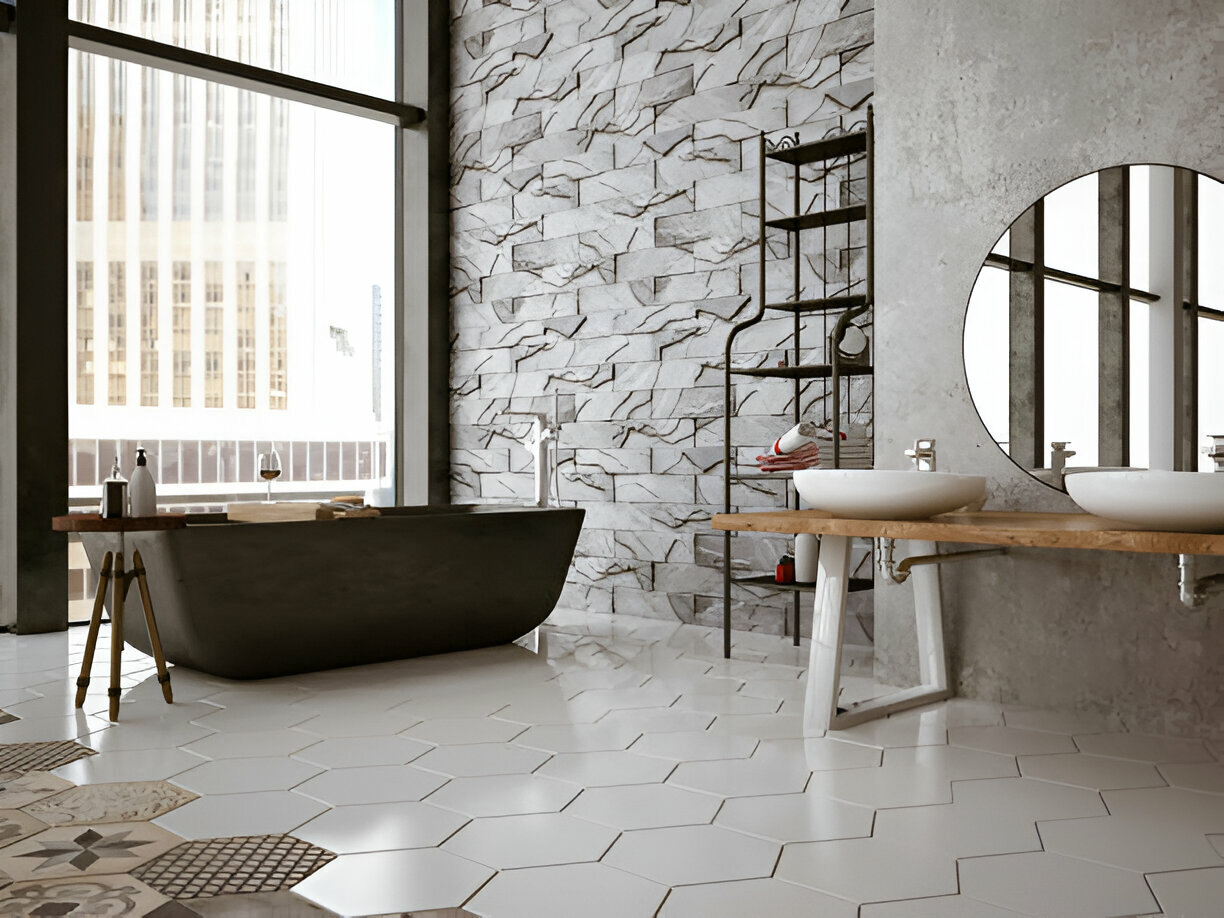
3. Variety of Styles and Designs
With a wide range of colors, patterns, and textures, ceramic tiles allow homeowners to customize their floors according to their style preferences. Whether you prefer a modern, rustic, or traditional look, there’s a ceramic tile design that suits your space.
Looking for unique design inspirations? Explore European Granite Design’s gallery for ideas on flooring, countertops, and backsplashes.
4. Water and Stain Resistance
Since ceramic tiles have a protective glaze, they are naturally resistant to water damage, making them ideal for bathrooms and kitchens. Additionally, using a grout sealer ensures long-lasting stain protection.
For more information on choosing the best flooring material, visit European Granite Design’s flooring services.
Step 1: Prepare the Surface
Proper surface preparation is critical for a successful tile installation. Before setting the tiles, ensure that the subfloor is clean, level, and stable to avoid cracks, uneven placement, or tile shifting over time.
1. Clean and Inspect the Floor
- Remove any debris, dust, or grease to ensure proper adhesion.
- Use a damp sponge to wipe down the floor and allow it to dry completely.
- If there are any uneven surfaces or cracks, repair them before continuing.
2. Install a Backer Board (If Needed)
A backer board is necessary if your subfloor is made of wood or an unstable surface. It helps prevent moisture damage and provides a solid foundation for the tiles.
- Measure and cut the backer board to fit your floor space.
- Secure it with thin-set mortar and screws.
- Tape the joints and apply a thin layer of mortar over the seams.
For expert guidance on selecting the right tile backer board and flooring materials, check out European Granite Design’s natural stone collection.
Step 2: Plan the Tile Layout
Before applying mortar, planning your tile layout helps reduce material waste and ensures a symmetrical design.
1. Mark the Center of the Floor
- Use a measuring tape to find the exact center of the room.
- Snap chalk lines to divide the floor into quadrants. This will help maintain a balanced layout.
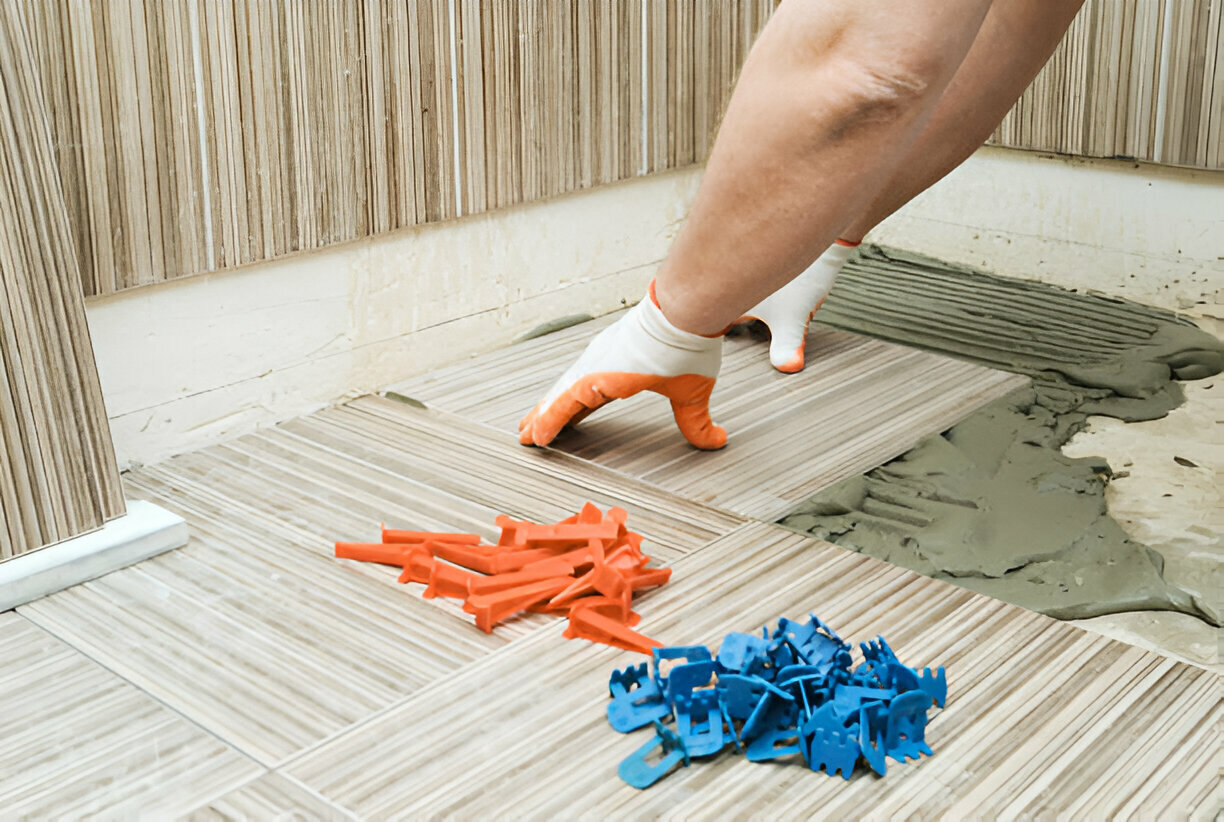
2. Dry-Lay the Tiles
- Place ceramic tiles on the floor without mortar to determine the best pattern.
- Use tile spacers to maintain even gaps between the tiles.
- Adjust the layout if needed to avoid small, awkward tile cuts near walls or doorways.
3. Consider Tile Orientation
For rectangular tiles, the orientation can affect the overall look. Diagonal tile patterns can make small rooms appear larger, while grid layouts work well for modern designs.
Need help visualizing different layouts? Try the European Granite Design Kitchen Visualizer for a preview of various tile placements.
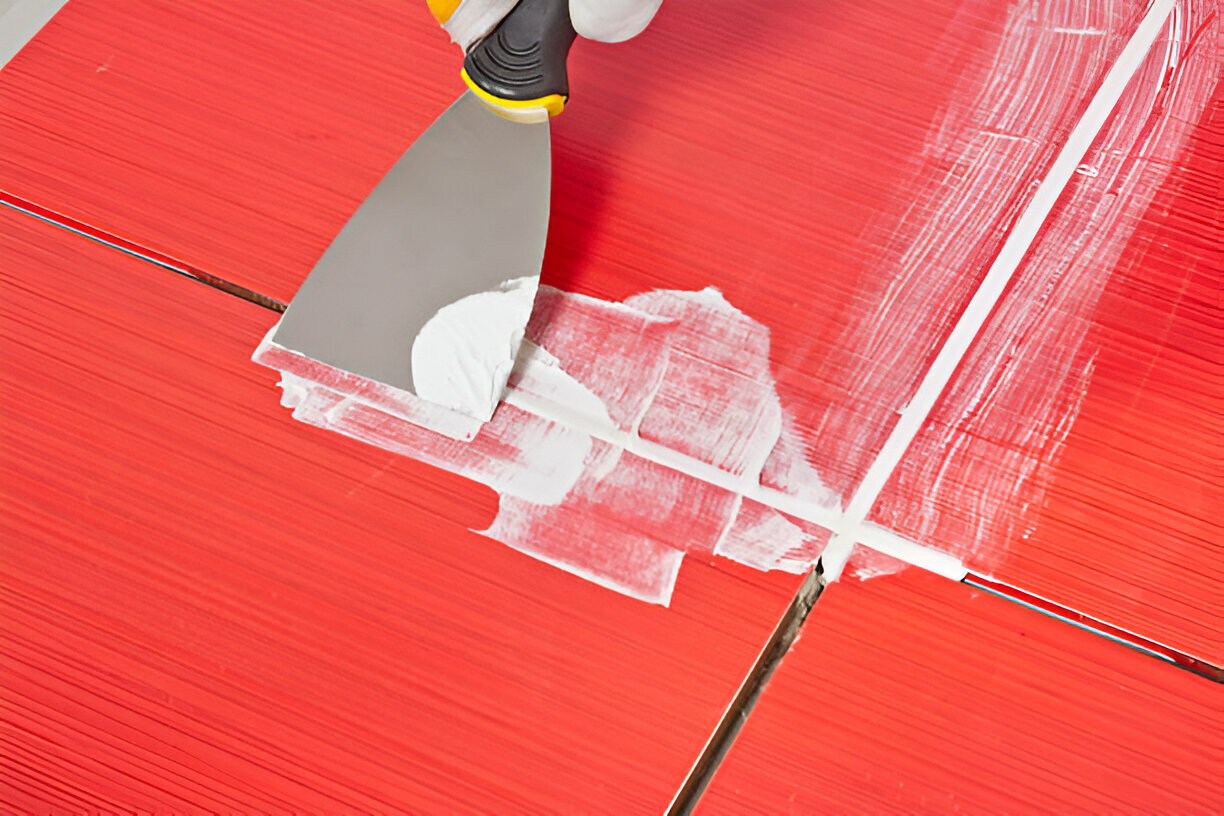
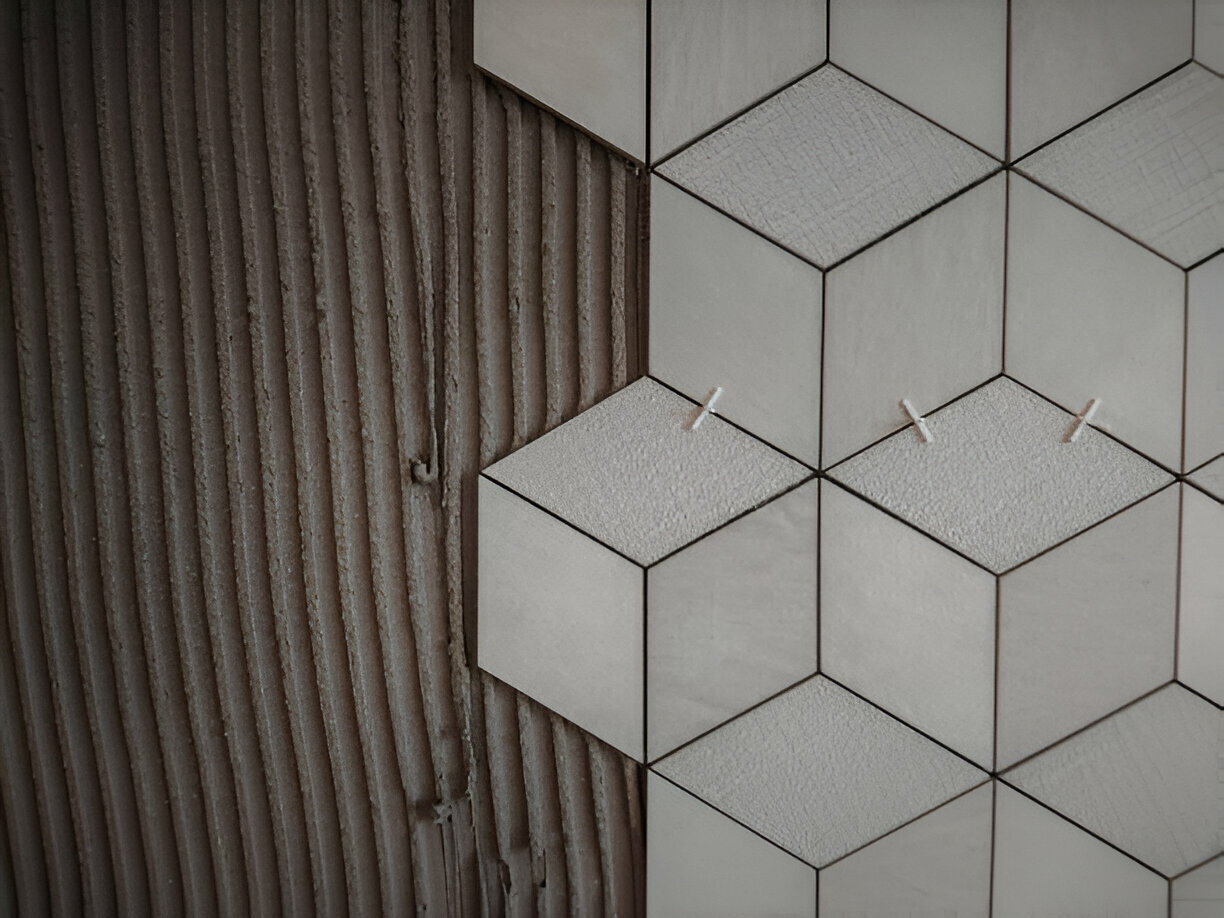
Step 3: Apply Thin-Set Mortar
Thin-set mortar acts as the adhesive that bonds the tiles to the floor. Properly applying thin-set mortar ensures a strong and long-lasting installation.
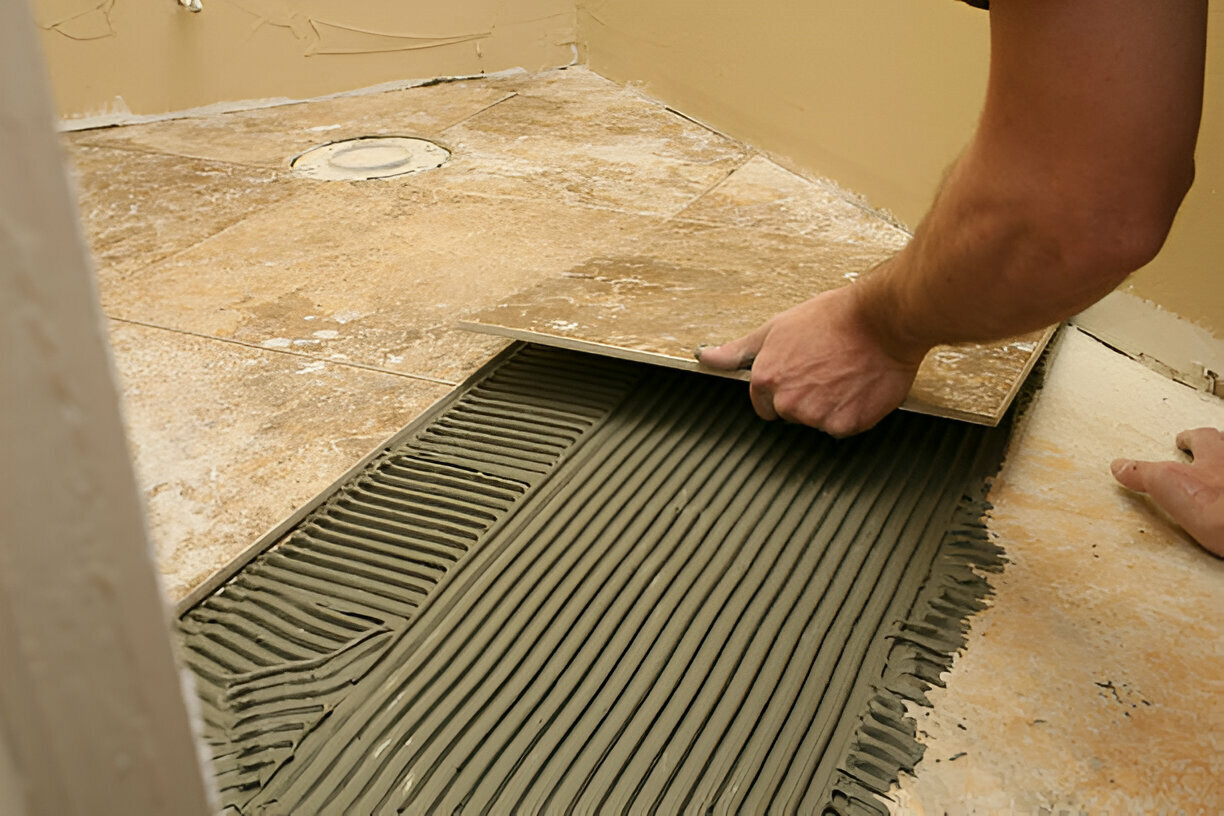
1. Mix and Spread the Mortar
- Follow the manufacturer’s instructions for mixing thin-set mortar to the right consistency.
- Use a notched trowel to spread a thin layer of mortar over a small section of the floor.
- Hold the trowel at a 45-degree angle to create ridges that improve adhesion.
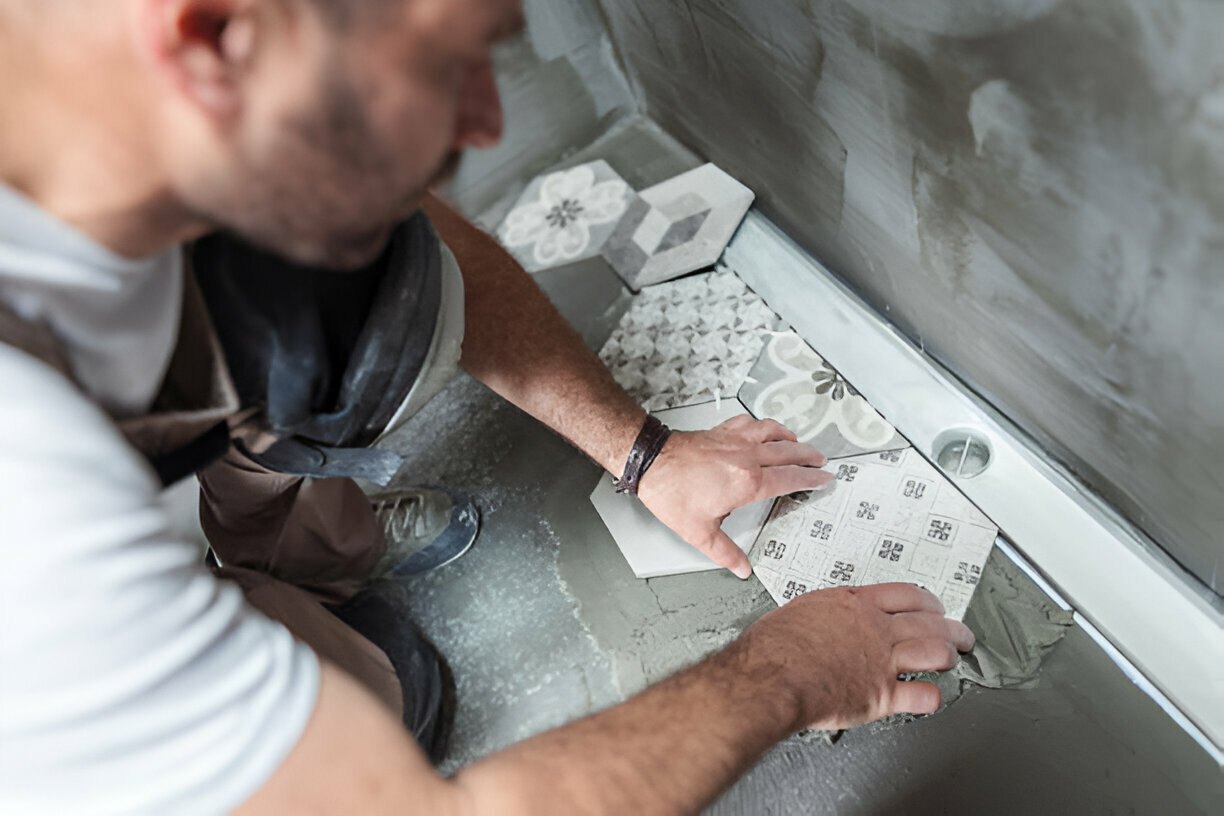
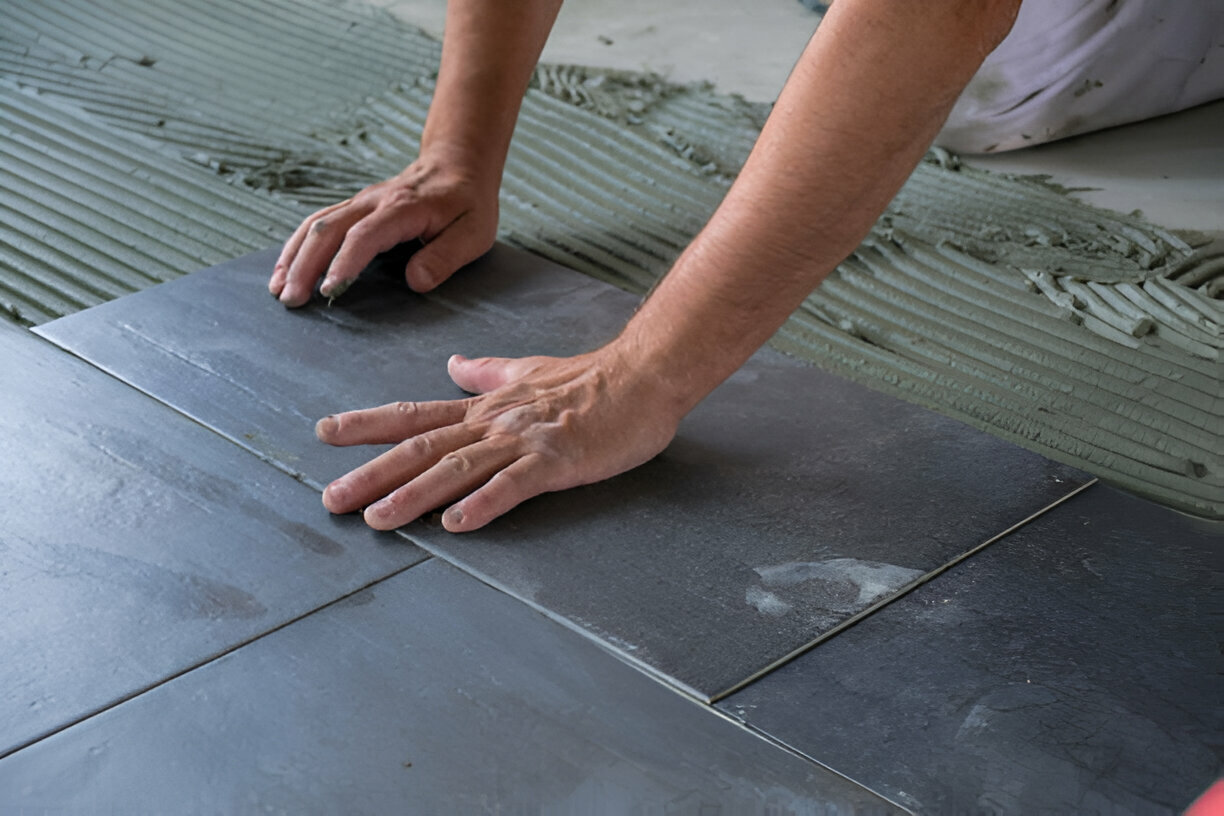
2. Set the Tiles in Place
- Begin at the center of the floor and press each tile firmly into the mortar.
- Use a tile spacer between tiles to maintain consistent grout lines.
- Check that each tile is level and properly aligned.
For a variety of high-quality tiles and countertops, visit European Granite Design’s Countertops Collection.
Step 4: Cut Tiles as Needed
When tiling a bathroom floor, shower floor, or kitchen, you will likely need to cut tiles to fit around walls, fixtures, or edges.
1. Measure and Mark
- Use a measuring tape to determine the exact tile dimensions needed.
- Mark the cutting lines using a pencil or chalk.
2. Cutting Methods
- For straight cuts, use a tile cutter.
- For curved cuts, use a wet saw to achieve precise shapes.
- For small notches, use tile nippers.
After cutting, smooth the edges with sandpaper or a rubbing stone to prevent sharp edges.
For expert advice on choosing the right tile and installation techniques, visit European Granite Design’s service area.
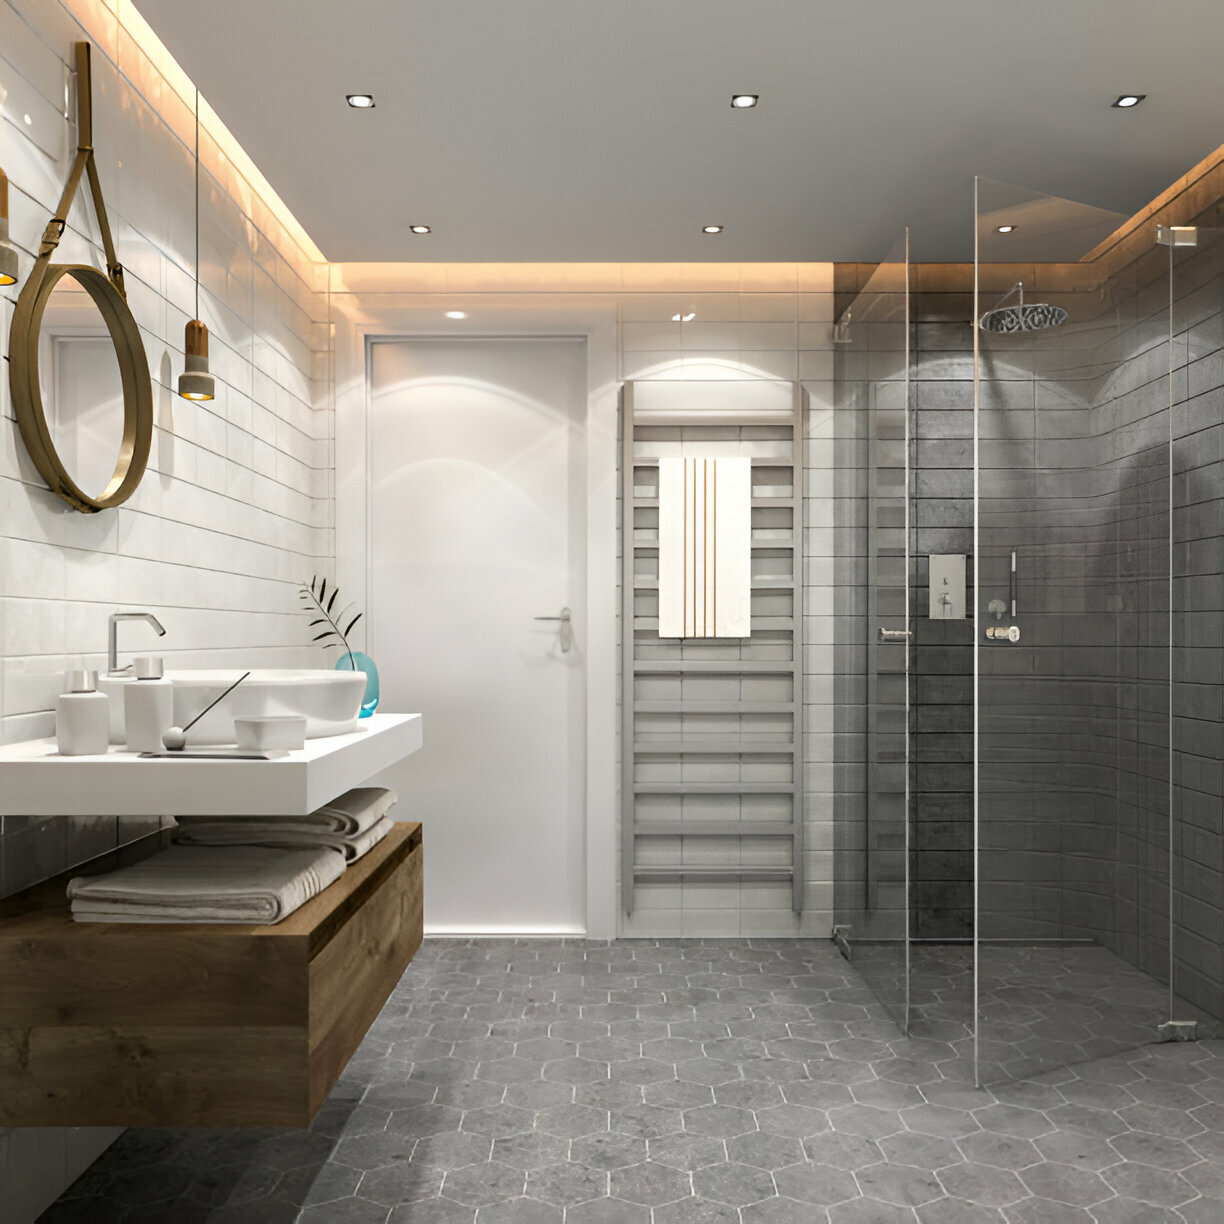
By following these detailed steps, you can successfully tile a floor and achieve a professional finish. Whether you’re working on a bathroom renovation, kitchen upgrade, or shower floor installation, ceramic tiles provide a durable and elegant solution.
For premium countertops, flooring, and remodeling services, check out European Granite Design for top-quality materials and expert installation.